GROUPS User Tutorial
Authors: Mahmoud Mostapha, Ilwoo Lyu, Martin Styner, Beatriz Paniagua
Collaborators:



GROUPS Tool Description
Step 1: Landmark-based Rigid Alignment
Step 2: Group-wise Shape Registration
Description of GROUPS
Consistent shape correspondence is a prerequisite any group analysis investigating disease patterns and group variability. Group-wise Registration For Shape Correspondence (GROUPS) tool is a general framework for establishing correspondence of 3D models that employs group-wise registration in a spherical parametrization space. The inputs are spherical harmonics (SPHARM) point distribution models (PDM) in addition to user-defined geometrical features and landmarks. The output is SPHARM-PDM models with optimized correspondence obtained by minimizing the entropy of the joint distribution of features and landmarks at corresponding point locations.
The GROUPS tool consists of the following detailed steps:

Step 1 : Landmark-based Rigid Alignment
This step will improve the SPHARM-PDM initial correspondence using a set of user placed landmarks. Landmarks are defined in terms of 3D Slicer Fiducials (*.fcsv). Minimize the landmark distance errors on the sphere in terms of rigid alignment transformation. Surfaces are Remeshed using rotated parametrization spheres.

Figure: (a) initial landmarks of the SPHARM-PDM surfaces, and (b) aligned landmarks after rigid transformation on the sphere

_Input: _ Surface Meshes
RigidWrapper CLI

Output : Rotated Parameterization Spheres

Output : Remeshed Surface

Figure: : SPHARM-PDM Meshs (* SPHARM.vtk) with user placed fiducals (*.fcsv) for each subject
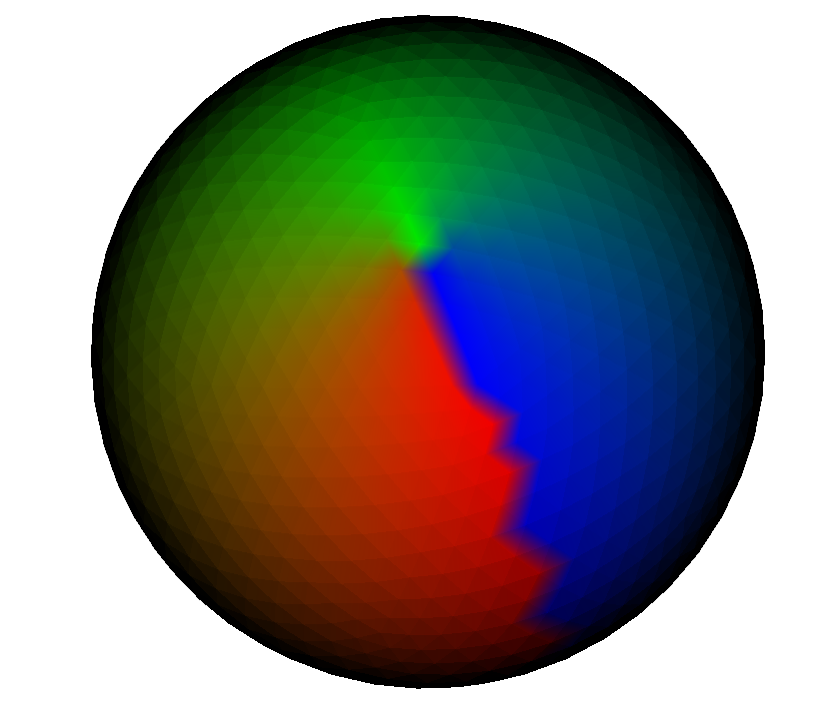
Figure : Common parametrization sphere obtained from the SPHARM-PDM pipeline (* surf_para.vtk)
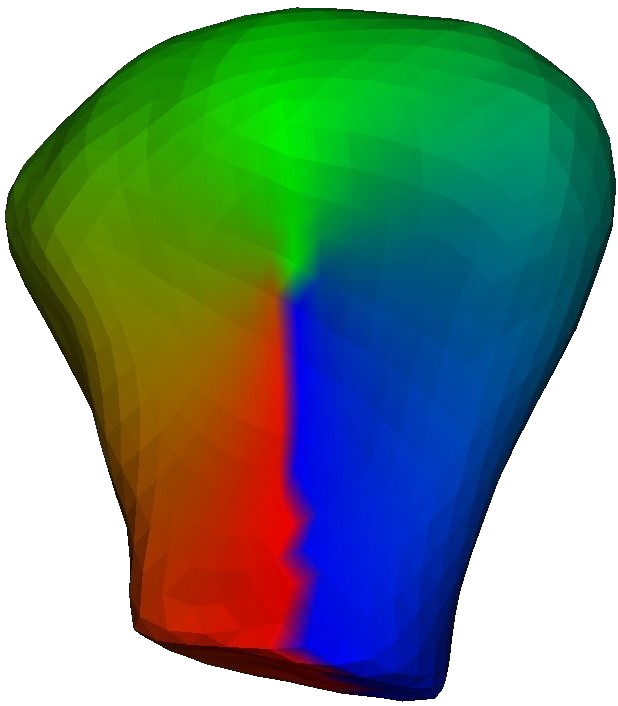
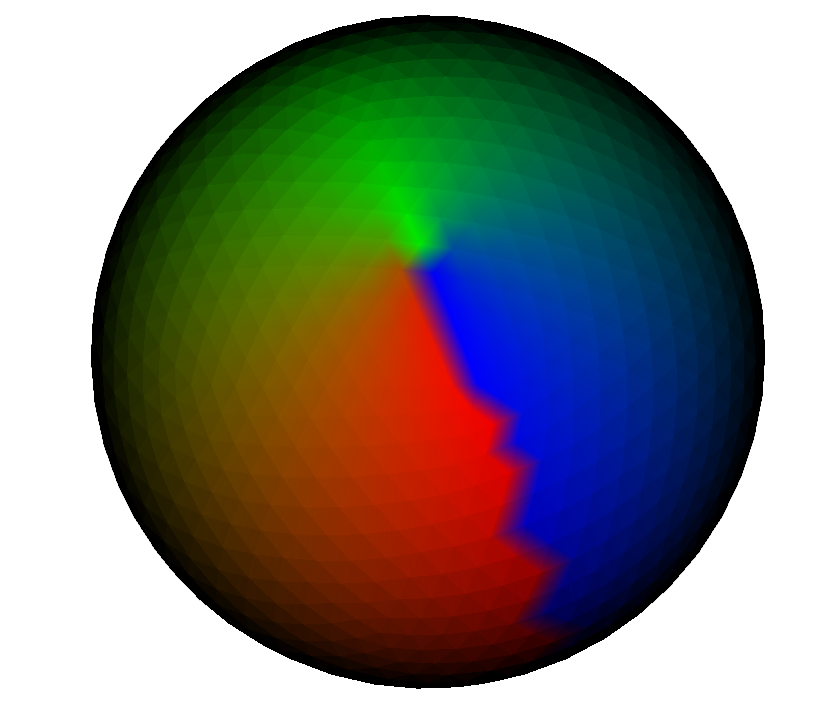
Figure: Remeshed Surface using SurfRemesh CLI (* aligned.vtk)
Figure: Rotated parametrization sphere using RigidWrapper CLI (* rotSphere.vtk)
Step 2: Group-wise Shape Registration
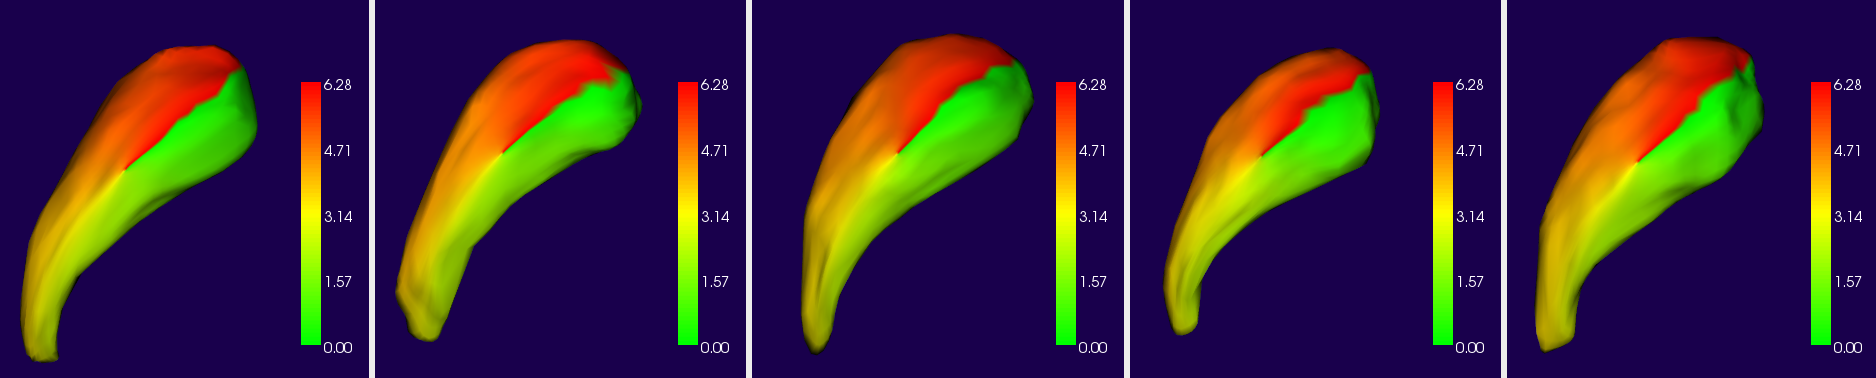
This step will further improve correspondence using group-wise registration in a spherical parametrization space. Optimizing landmarks (local) and multidimensional features (global) by minimizing the joint entropy. Features are pre-computed by the user and saved in SPHARM vtk files as point data arrays. Surfaces are Remeshed using aligned SPHARM coefficients
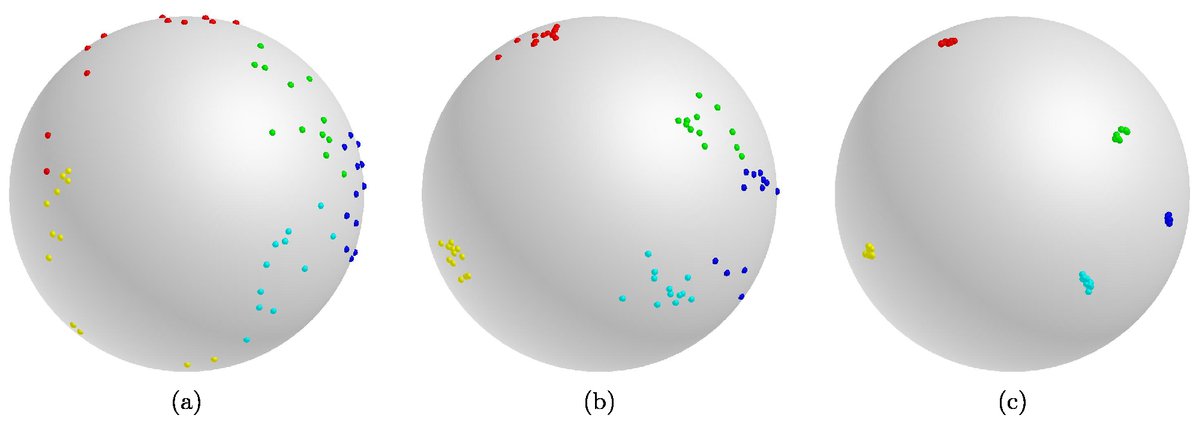
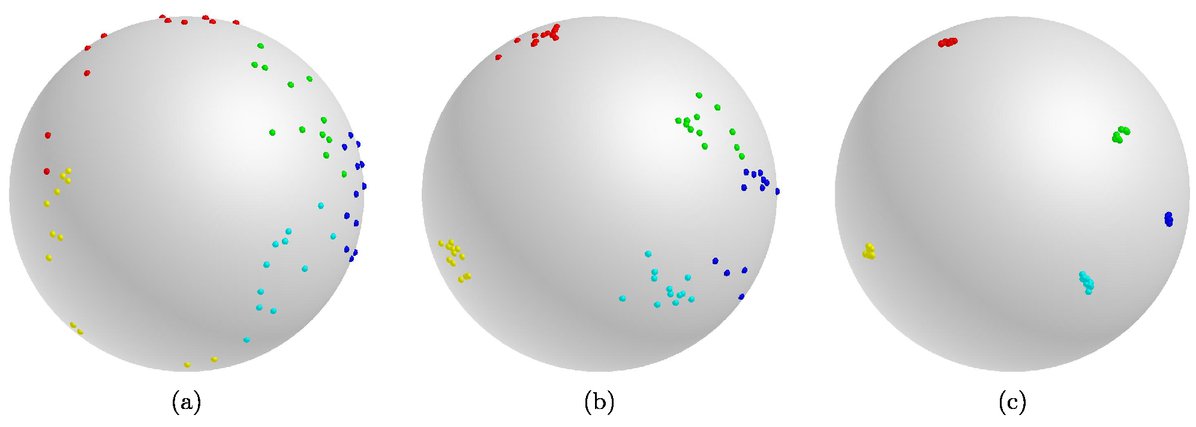
Figure: (a) landmarks after rigid transformation on the sphere, and (b) final landmark alignment using group-wise shape registration

_Input: _ Surface Meshs
SurfRemesh CLIs
Output : Remeshed Surface
Figure: Examples of geometrical features generated by the user and stored in the (*SPHARM.vtk) Surfaces as point data arrays. (a) Curvedness generated using the SpharmTool in the SPHARM-PDM pipeline
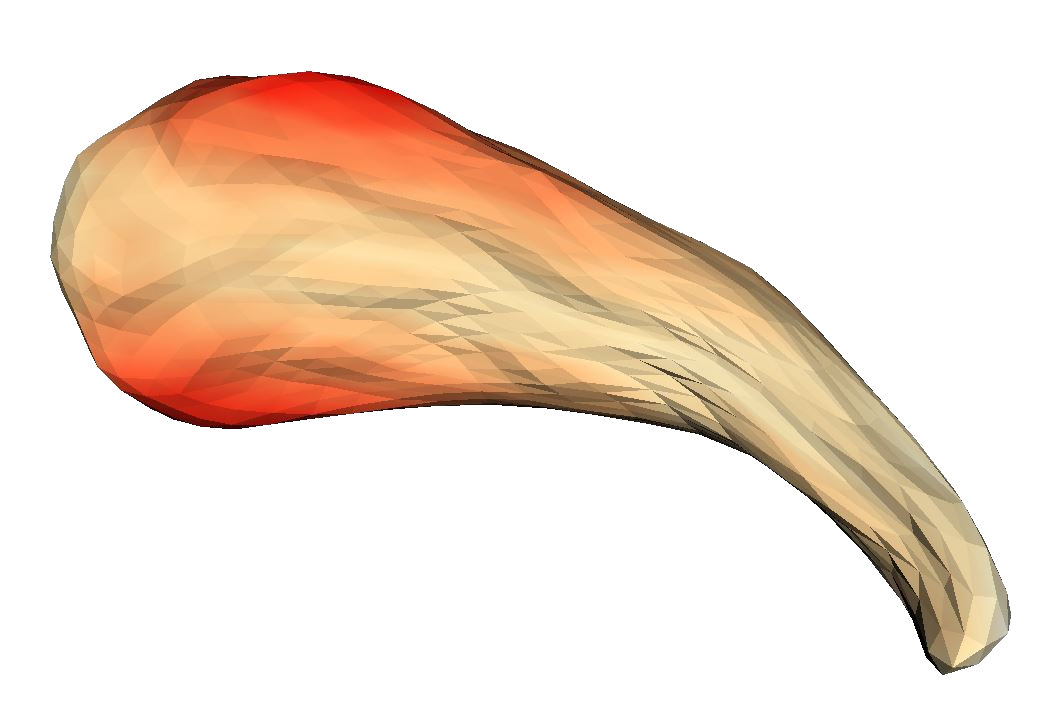
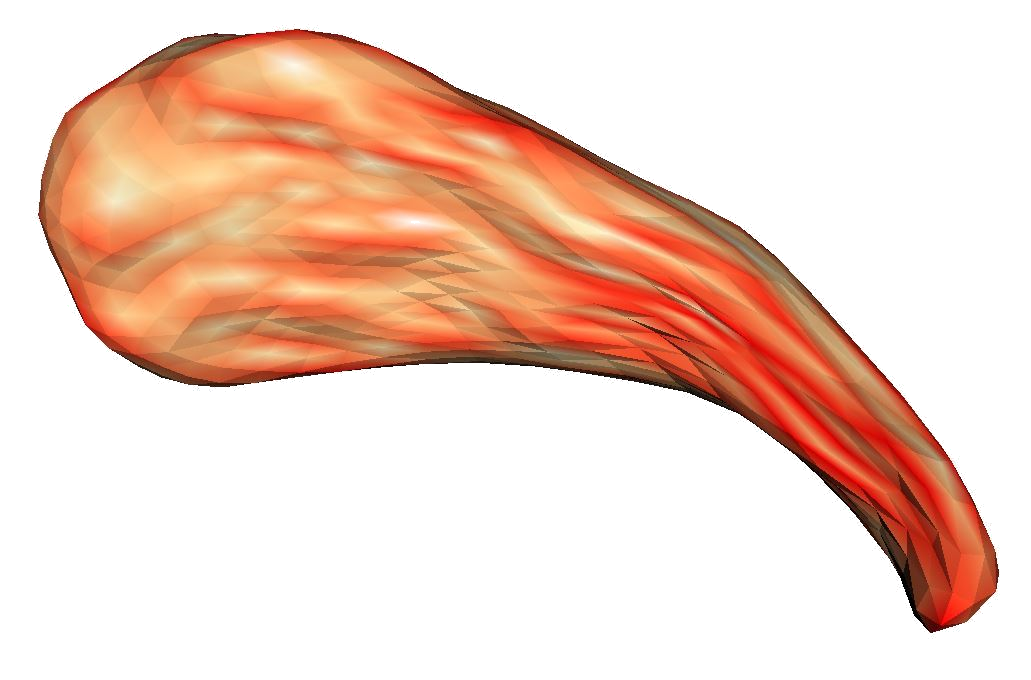
Figure: Examples of geometrical features generated by the user and stored in the (*SPHARM.vtk) Surfaces as point data arrays. (a) Curvedness generated using the SpharmTool in the SPHARM-PDM pipeline. (b) Partial radius (thickness) generated when medial mesh is generated in the SPHARM-PDM pipeline If landmarks to be used, the user need to save landmarks as binary array of the Vertex IDs saved as an array called “Landmarks”
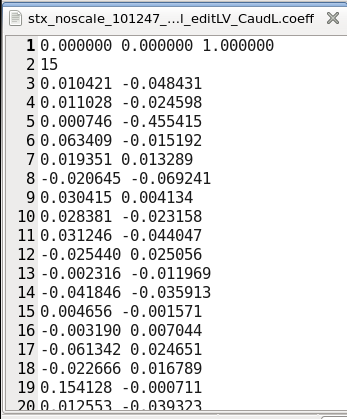
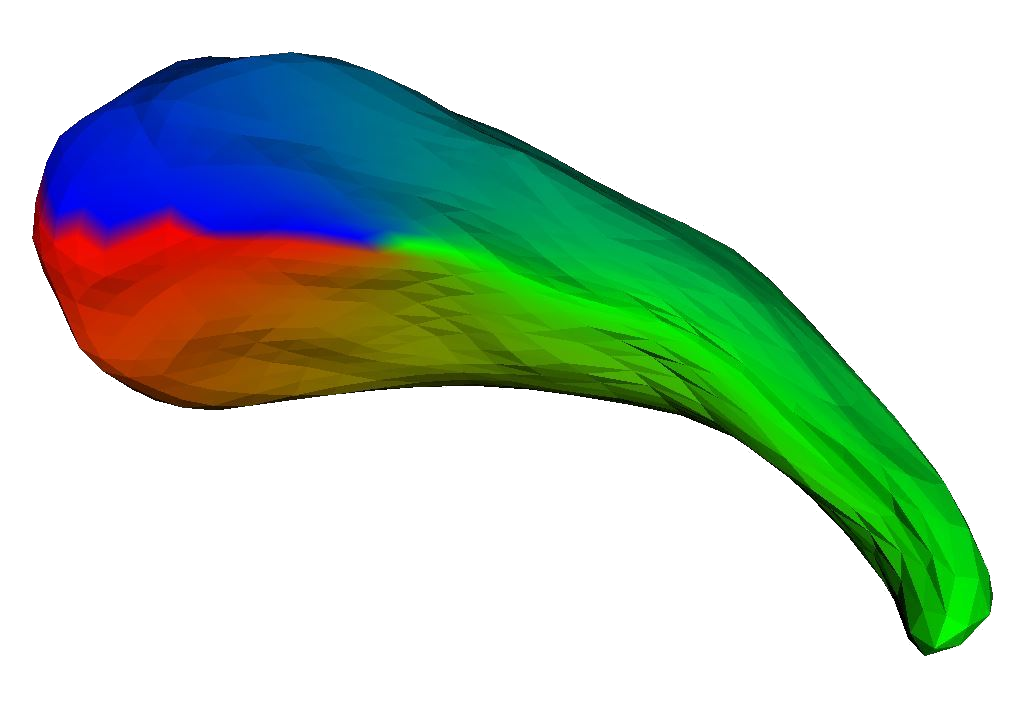
Figure : (a) SPHARM deformation coefficients (*coeff) produced by the Groups CLI. (b) The input surface is then remeshed (*SPHARM.vtk) using SurfRemesh CLI
Installation of GROUPS Tool
GROUPS tool can be used with two open-source software platforms: * SlicerSALT : which is the dissemination vehicle of powerful shape analysis methodology. This software is a light-weight, customized version of 3D Slicer. It contains GROUPS as modules * 3D Slicer : which is an open-source and free software platform for medical image informatics, image processing, and three-dimensional visualization. GROUPS can be downloaded as an extension
GROUPS Installation on SlicerSALT
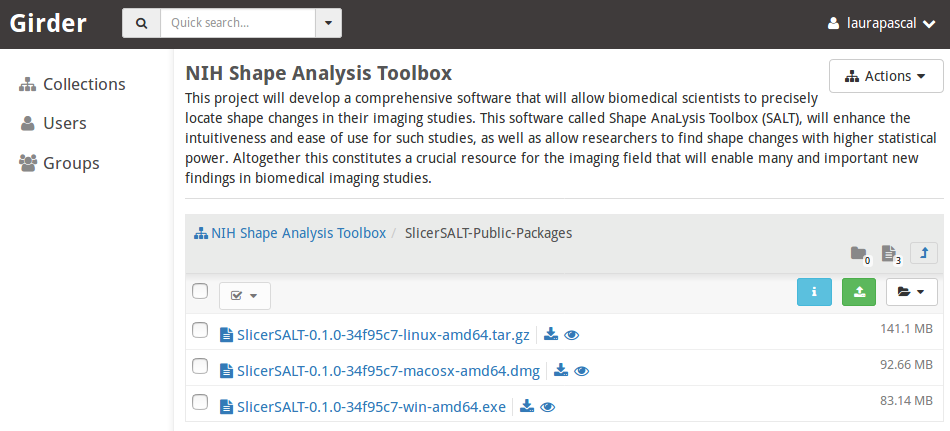
Download the SlicerSALT packages for your respective operating system from the SlicerSALT website and install it.

GROUPS Installation on 3D Slicer
Download 3D Slicer packages for your respective operating system on the 3D Slicer website and install it

GROUPS Installation on 3D Slicer
In 3D Slicer, open the Extension Manager
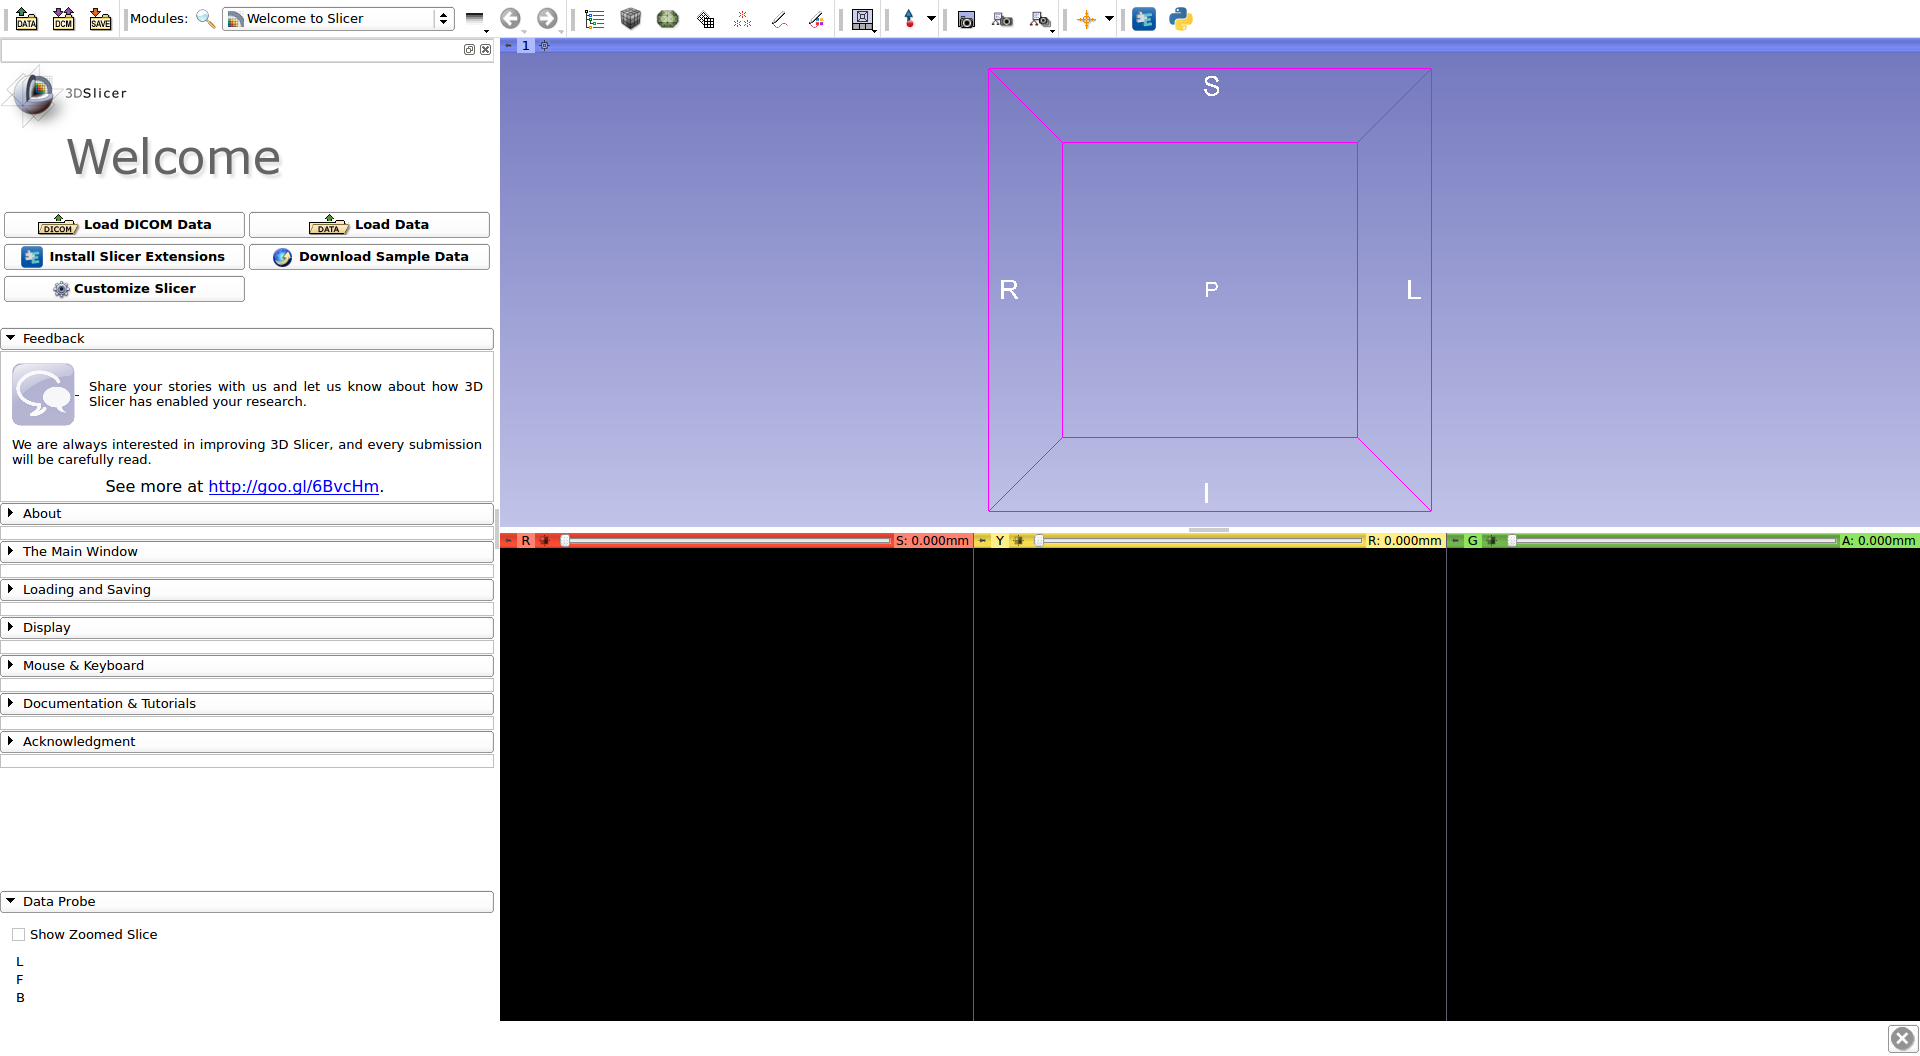
In the Install Extension tab, select Shape Analysis under Categories
Under SPHARM-PDM , select the Install button and restart Slicer when prompted


For quality control, we analyze our GROUPS outputs with Shape Population Viewer extension. Shape Population Viewer can be installed as a 3D Slicer extension or as an external binary. This module is included as part of the SlicerSALT package
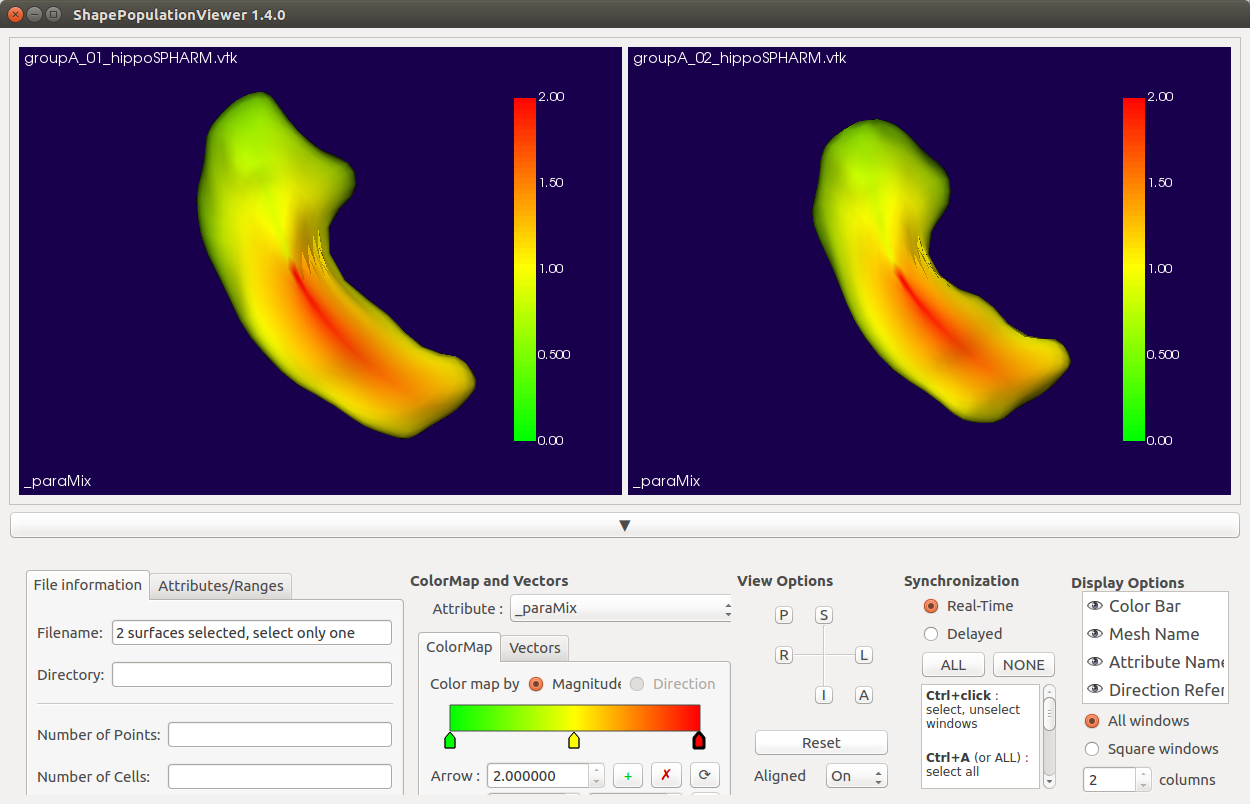
To install Shape Population Viewer as a 3D Slicer extension :
Open Extension Manager , in the _Install Extensions _ tab, select ‘ Shape Analysis’ under Categories
Select the appropriate _Install _ button and restart 3D Slicer when prompted

To install Shape Population Viewer as an external binary :
Download ShapePopulationViewer package for your respective operating system on NITRC website
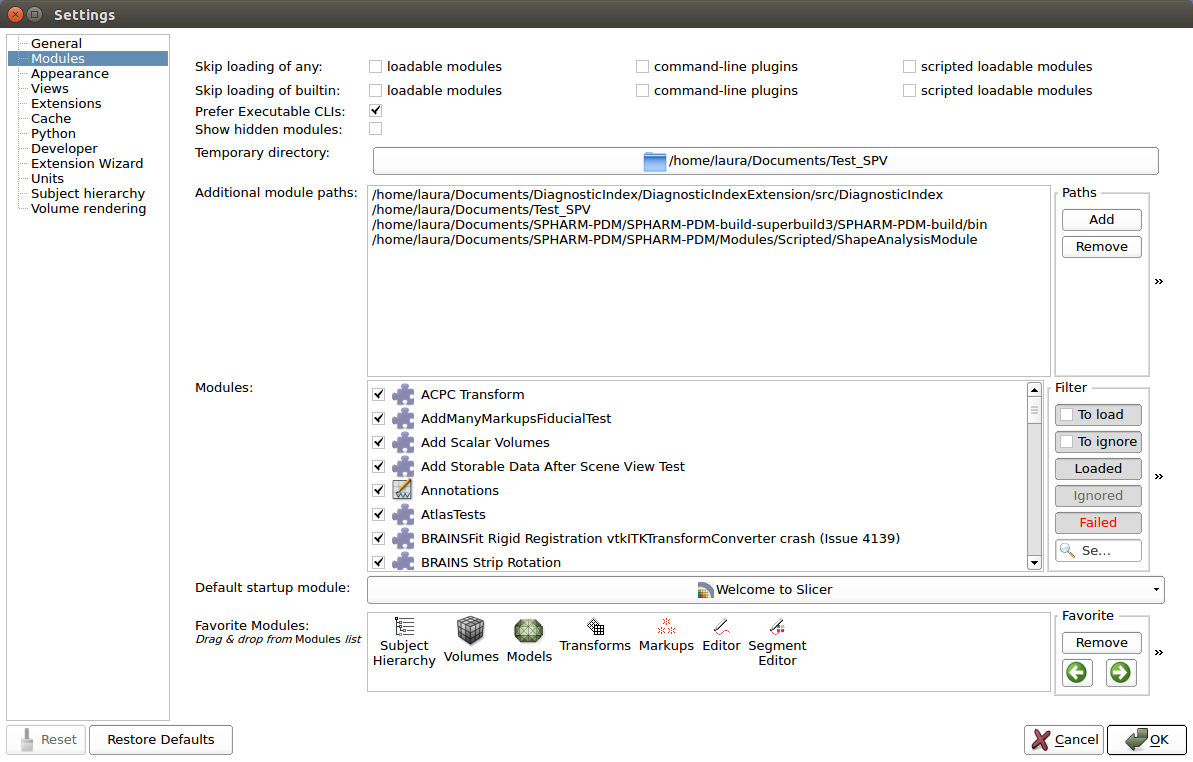
In 3D Slicer, open _Application Settings _ in the _Edit _ Menu. On the tab Modules , Add the folder where ShapePopulationViewer is stored
Restart 3D Slicer
Rigid Alignment Use
Rigid Alignment tool can be used by two different ways:
As command-line tool through the terminal thanks to SlicerSALT
As a module of SlicerSALT or 3D Slicer
Rigid Alignment Command-Line Tool
Rigid Alignment method can be run on several cases through a terminal thanks to two files included in the SlicerSALT package:
RigidAlignment-parameters.ini which allows the user to specify the inputs, outputs and the parameters of the RigidAlignment tool
RigidAlignment.py python script which will apply RigidAlignment method on the given input cases with the parameters specified in the RigidAlignment-parameters.ini file
RigidAlignment.py and _RigidAlignment-parameters.ini files location: _
On Linux and Windows: share/Slicer-4.7/CommandLineTool
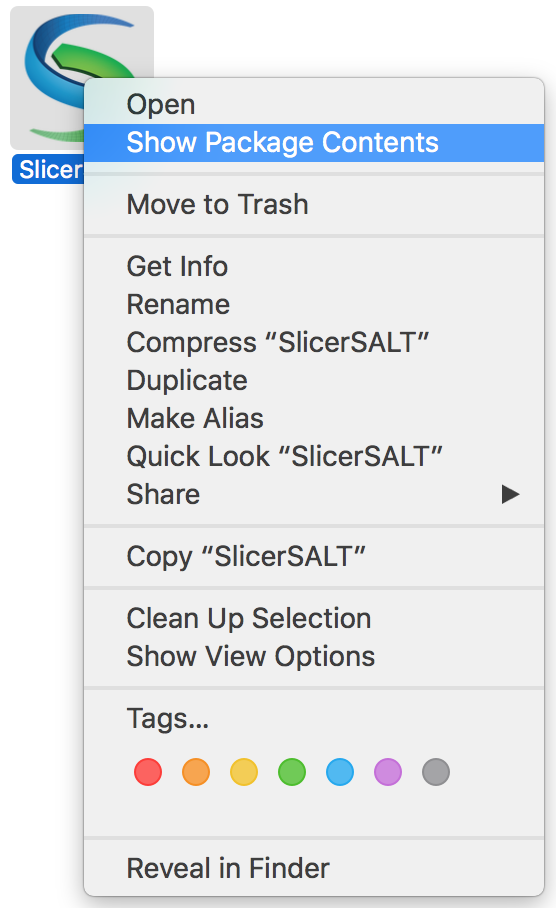
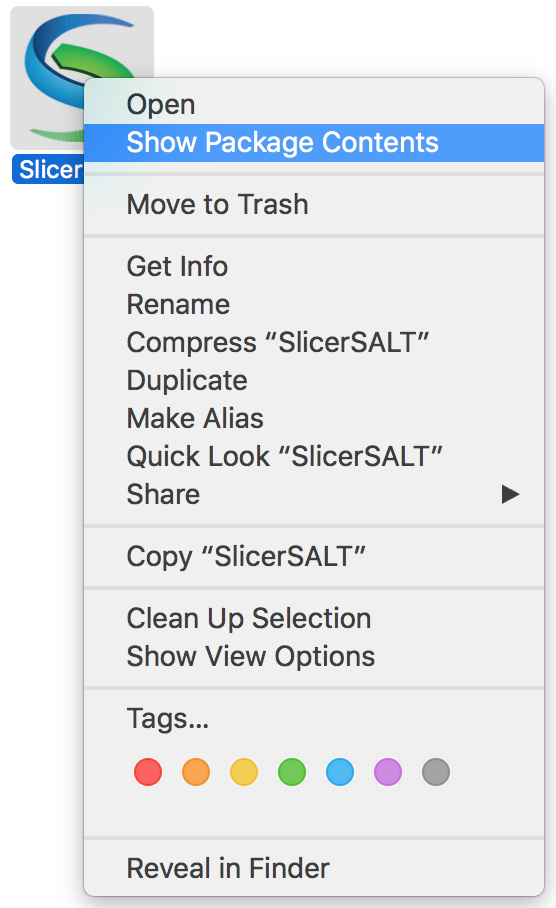
_On MacOs: Open the SlicerSALT Contents _
🡪 Contents/share/Slicer-4.7/CommandLineTool
Step 1 : Modification of the RigidAlignment-parameters.ini file by specifying the directories needed for tool CLIs
Step 2 : Launch Rigid Alignment method with the following command-lines:
On Linux and Windows:
$cd path-to-the-SlicerSALT-package
$./SlicerSALT –no-main-window –python-script share/Slicer-4.7/CommandLineTool/RigidAlignment.py share/Slicer-4.7/CommandLineTool/RigidAlignment-parameters.ini
On MacOs:
$cd path-to-the-SlicerSALT-package/SlicerSALT.app/Contents/MacOS
$./SlicerSALT –no-main-window –python-script ../share/Slicer-4.7/CommandLineTool/RigidAlignment.py ../share/Slicer-4.7/CommandLineTool/RigidAlignment-parameters.ini
Rigid Alignment Module
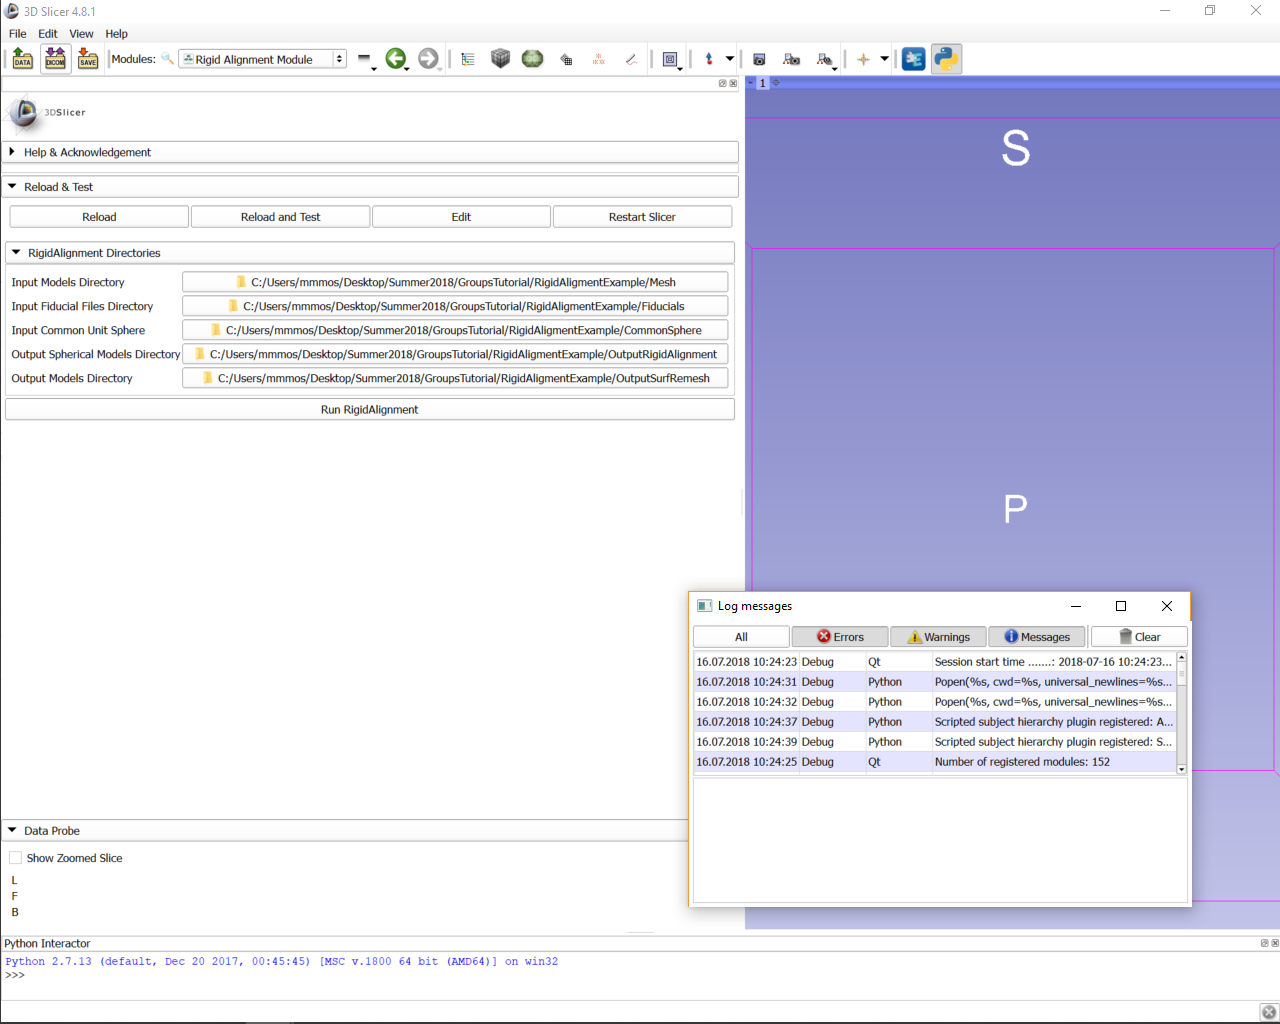
In 3D Slicer or in SlicerSALT, select _Rigid Alignment Module _
from the Modules drop-down menu ( Category: Shape Analysis) or on the Search bar

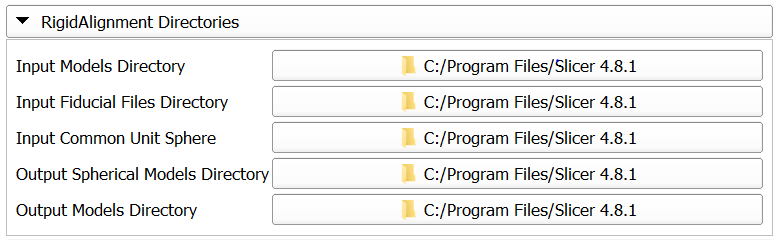
Setting up Input Directories
RigidAlignment tab
For Input Models Directory , select the folder which contains the input surface meshs (*.vtk)
For Input Fiducial Files Directory , select the folder where the landmarks (fiducials) files are stored (*.fcsv)
For Input Common Unit Sphere , select the folder where the common parametrization sphere is stored (*.vtk)
Setting up Output Directories
RigidAlignment tab
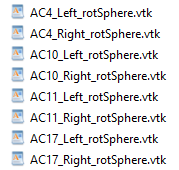
For Output Spherical Models Directory , select the folder where the output of the RigidWrapper CLI will be stored (*.vtk)
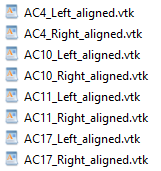
For Output Models Directory , select the folder where the output of the SurfRemesh CLI will be stored (*.vtk)
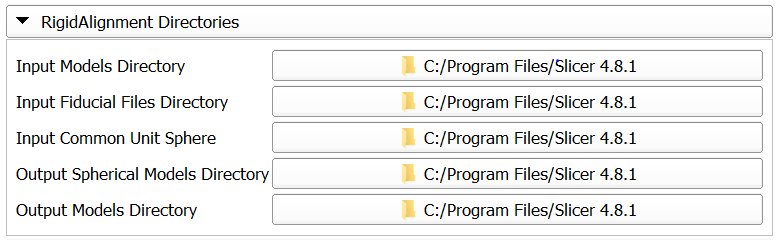
Running Rigid Alignment Module
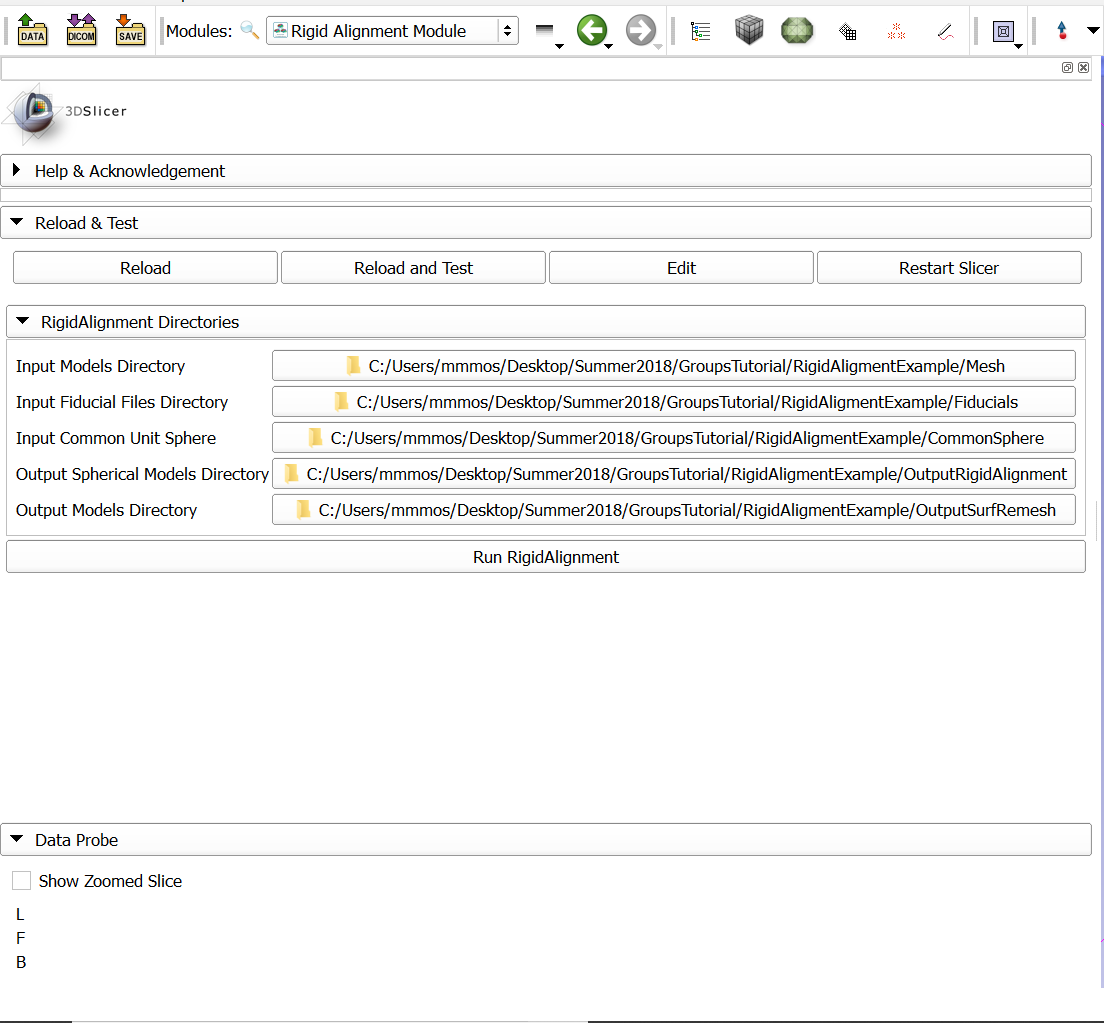
Click on the
Run _RigidAlignment _ button, to run the CLIs on the provided inputs
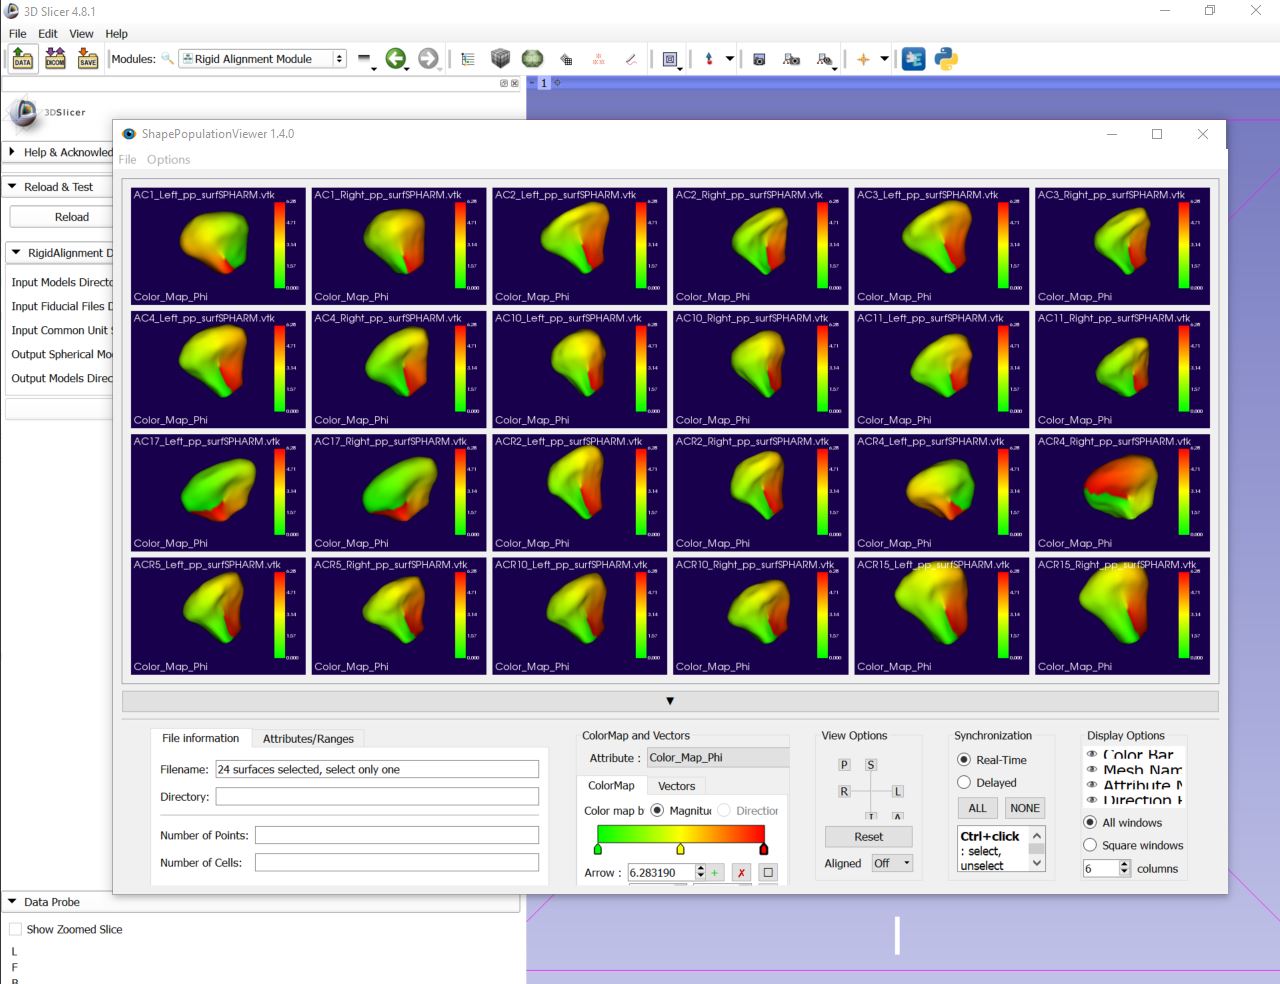
Shape Population Viewer will pop up to preview the input meshes giving the user the chance to inspect the input data before running the tool
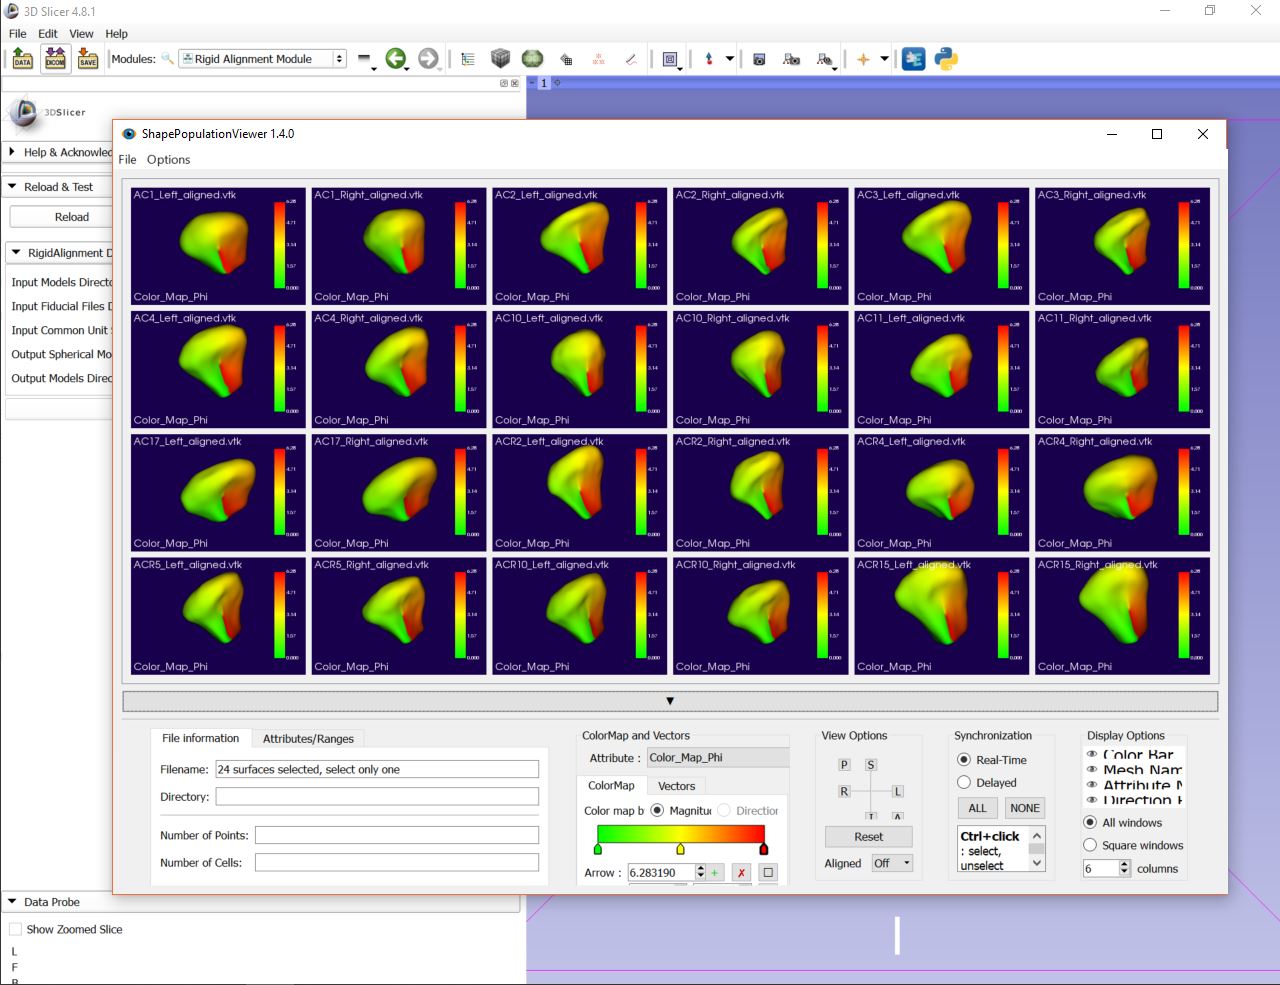
Shape Population Viewer will pop up also after the module finished processing giving the user the chance to check the remeshed surfaces
3D Slicer’s Error Log can also be used for debugging if the module was completed with errors. To open it, click on the red icon at the bottom right.
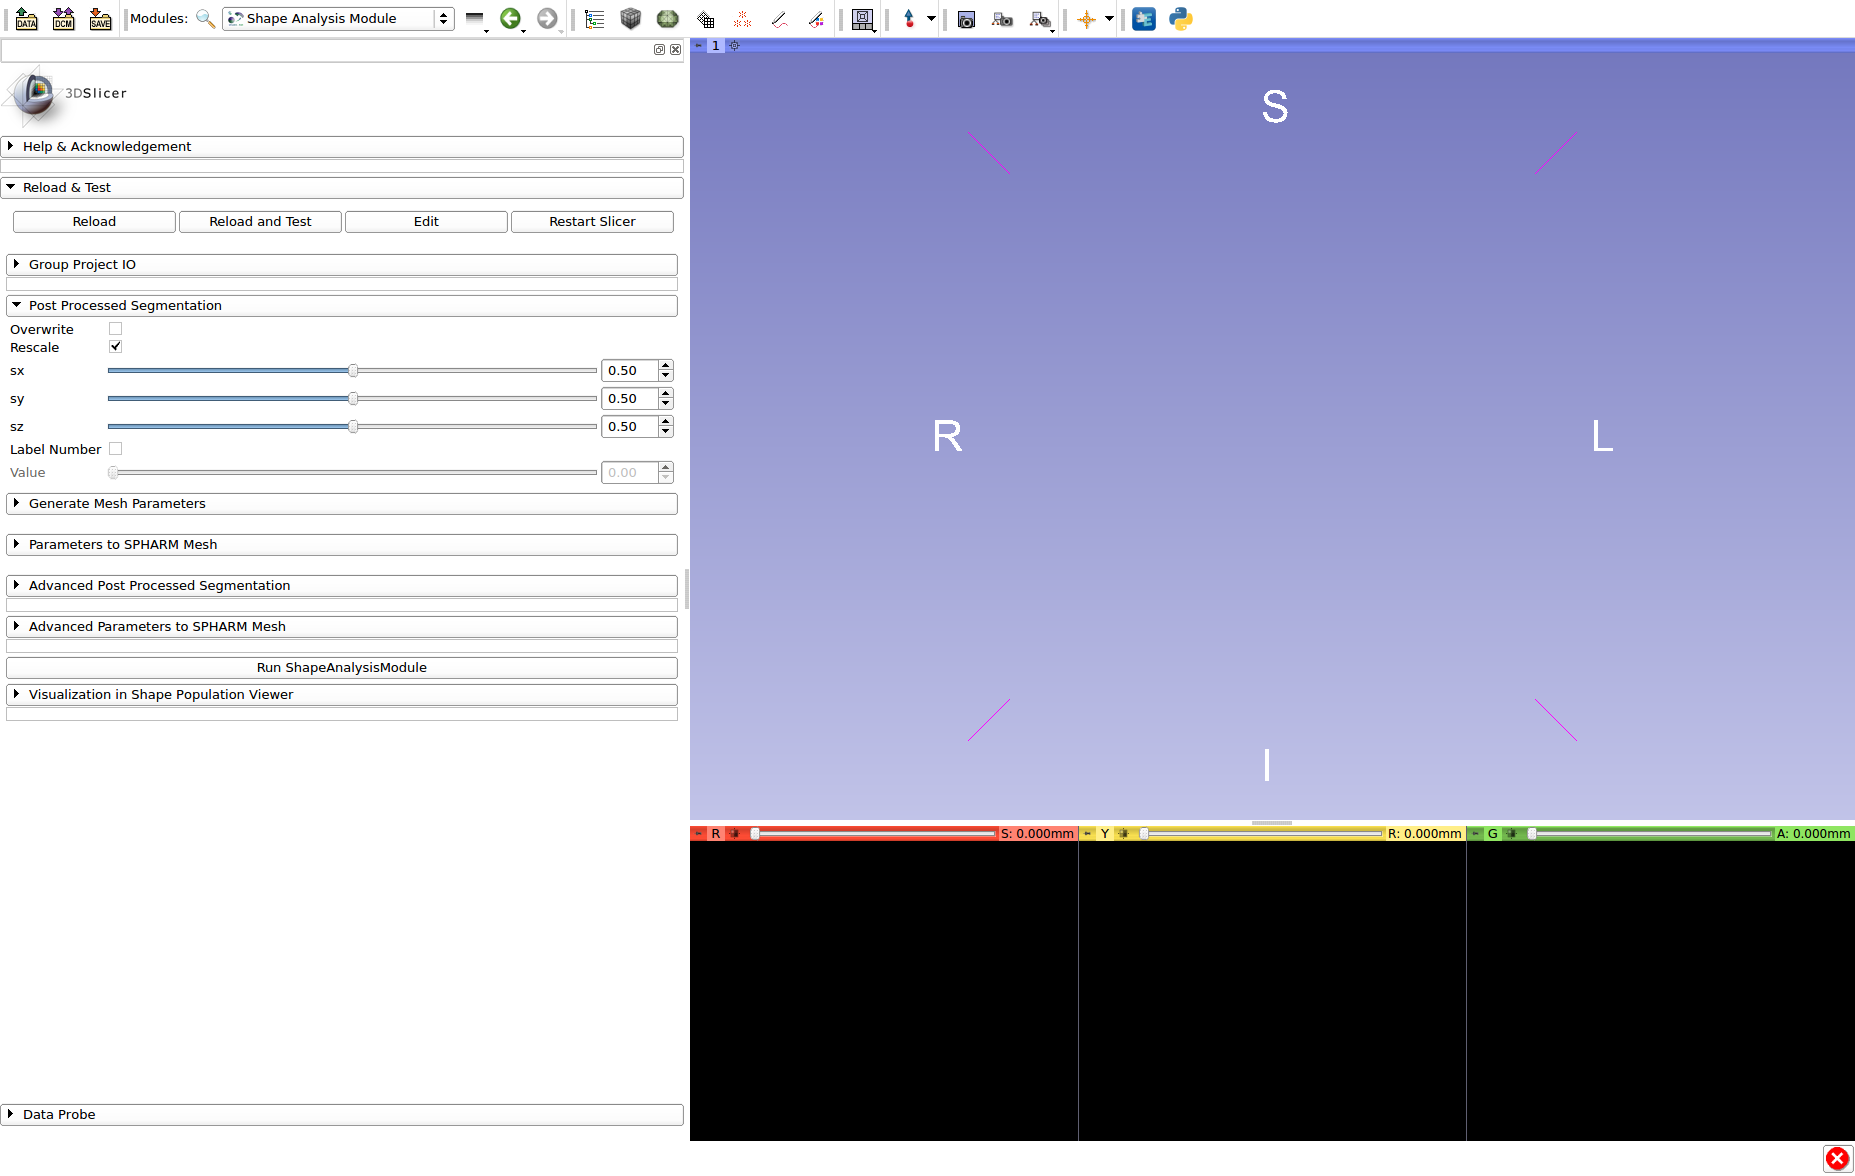
3D Slicer’s Error Log can also be used for debugging if the module was completed with errors. To open it, click on the red icon at the bottom right.
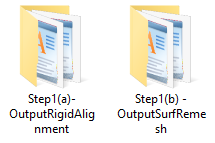
The outputs files for the two sub-steps of Rigid Alignment Module are stored in the two folders specified by the user:
Group-wise Registration Use
Group-wise Registration tool can be used by two different ways:
As command-line tool through the terminal thanks to SlicerSALT
As a module of SlicerSALT or 3DSlicer
Group-wise Registration Command-Line Tool
Group-wise Registration method can be run on several cases through a terminal thanks to two files included in the SlicerSALT package:
GroupWiseRegistration-parameters.ini which allows the user to specify the inputs, outputs and the parameters of the Group-wise Registration tool
GroupWiseRegistration.py python script which will apply GroupWiseRegistration method on the given input cases with the parameters specified in the GroupWiseRegistration -parameters.ini file
GroupWiseRegistration.py and _GroupWiseRegistration -parameters.ini files location: _
On Linux and Windows: share/Slicer-4.7/CommandLineTool
_On MacOs: Open the SlicerSALT Contents _
🡪 Contents/share/Slicer-4.7/CommandLineTool
Step 1 : Modification of the GroupWiseRegistration-parameters.ini file by specifying the directories and parameters needed for tool CLIs
Step 2 : Launch Group Wise Registration method with the following command-lines:
On Linux and Windows:
$cd path-to-the-SlicerSALT-package
$./SlicerSALT –no-main-window –python-script share/Slicer-4.7/CommandLineTool/GroupWiseRegistration.py share/Slicer-4.7/CommandLineTool/GroupWiseRegistration-parameters.ini
On MacOs:
$cd path-to-the-SlicerSALT-package/SlicerSALT.app/Contents/MacOS
$./SlicerSALT –no-main-window –python-script ../share/Slicer-4.7/CommandLineTool/GroupWiseRegistration.py ../share/Slicer-4.7/CommandLineTool/GroupWiseRegistration-parameters.ini
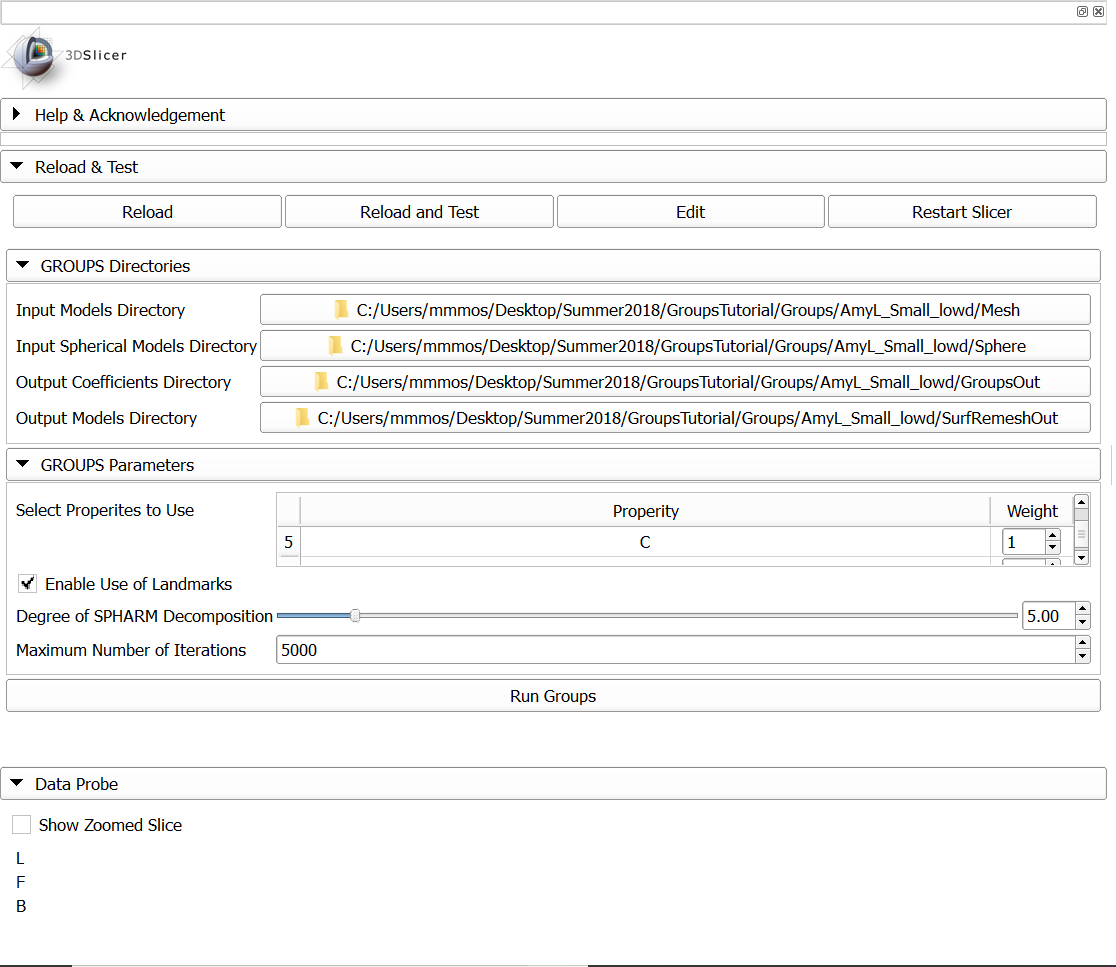
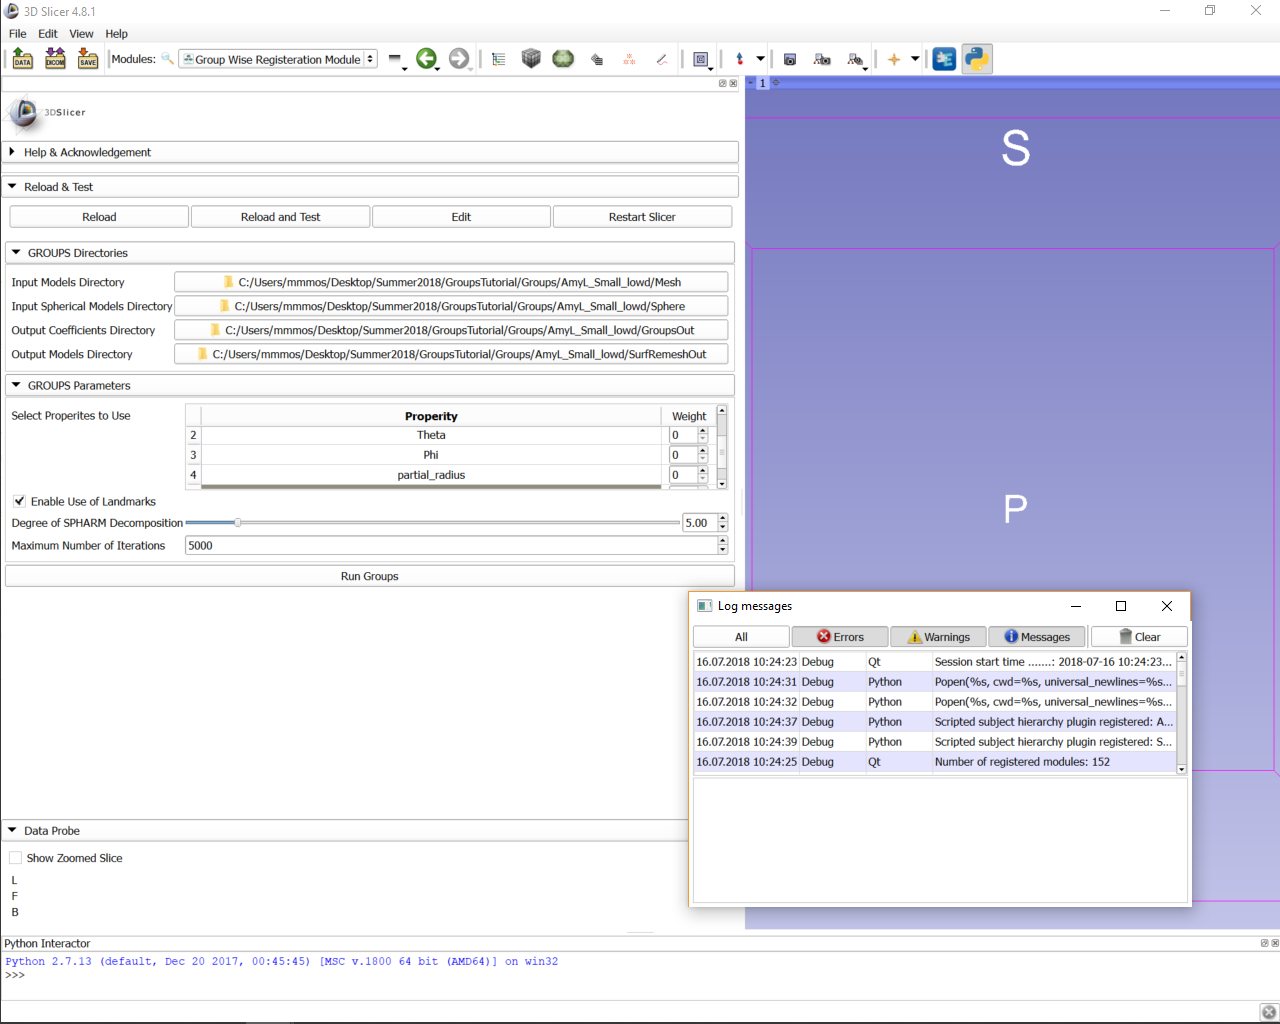
In 3D Slicer or in SlicerSALT, select _Group-wise Registration Module _ from the Modules drop-down menu ( Category: Shape Analysis) or on the Search bar

Setting up Input Directories
Groups tab
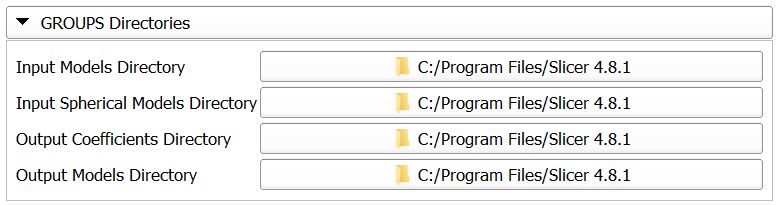
For Input Models Directory , select the folder which contains the input surface meshs (*SPHARM.vtk)
For Input Spherical Models Directory , select the folder where the spherical parametrization files are stored (*_para.vtk)
Setting up Output Directories
Groups tab
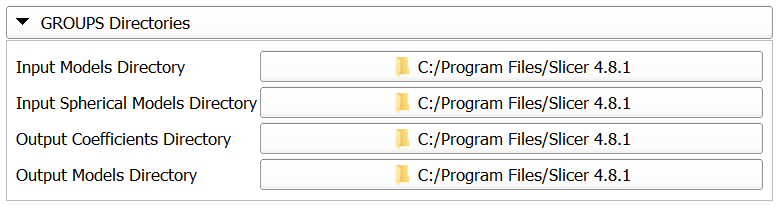
For Output Coefficents Directory , select the folder where the output of the Groups CLI will be stored (*.Coeff)
For Output Models Directory , select the folder where the output of the SurfRemesh CLI will be stored (*.vtk)
Features and Parameters
Groups Parameters tab
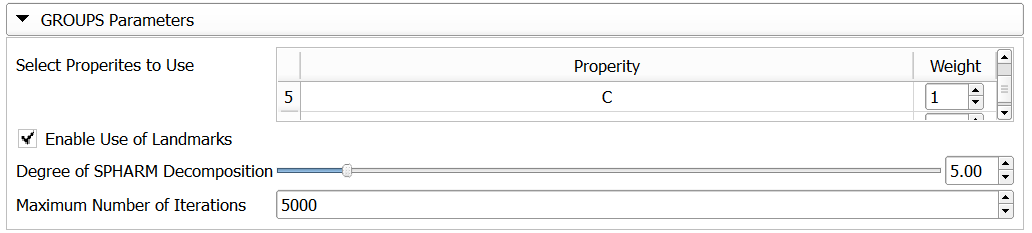
Once the user specify the input models directory, the geometrical features/prosperities stored in the vtk files are dynamically populated into a list where the user can select what features to include (Weight >0)
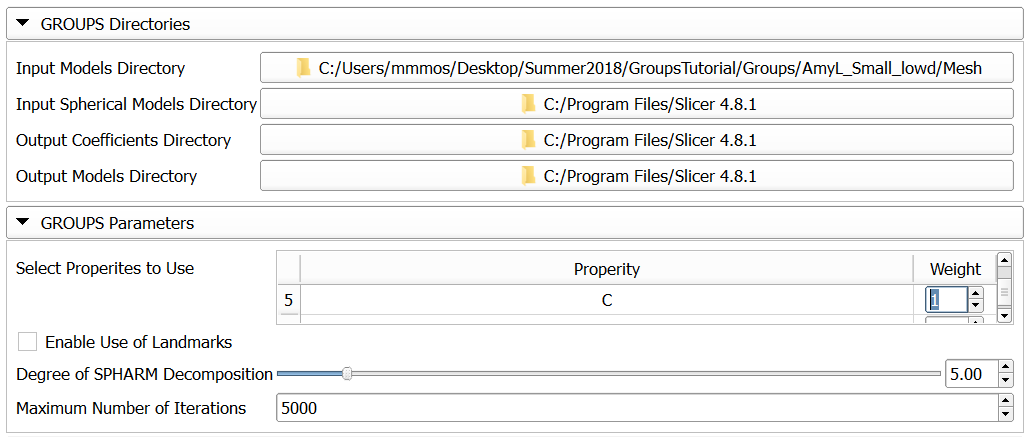
Enable Use of Landmarks: Option for the user to select if landmarks will be included in improving the correspondence
If enabled, the user need to store the landmarks as a point data array called “Landmarks” indicating Vertex IDs to be selected (Value > 0)
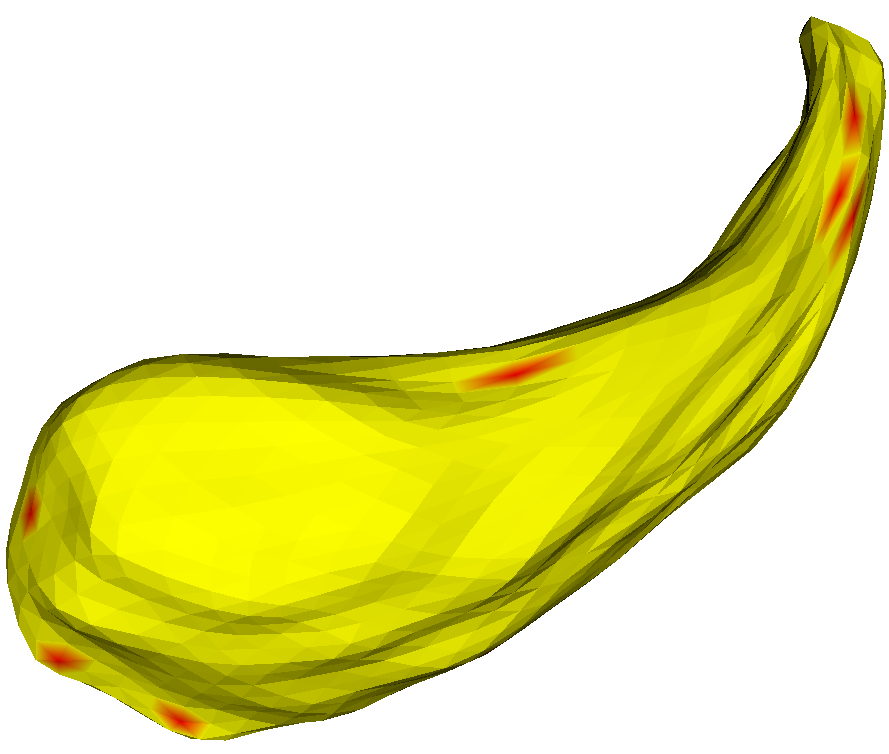
Figure : _Example of Landmarks stored in *SPHARM.vtk files _
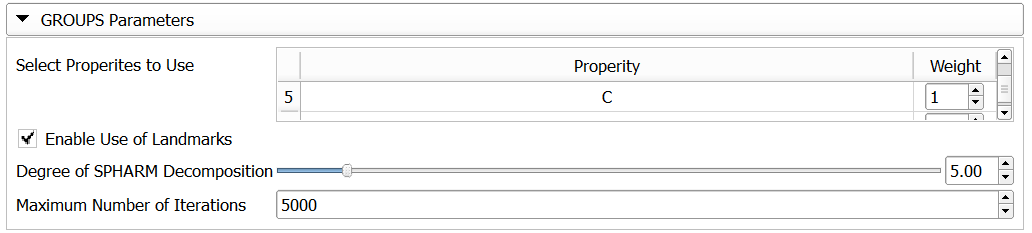
Degree of SPHARM Decomposition: Degree value represents the degree of the spherical harmonic decomposition used to represent the computed deformation field
Changing this value results in different levels of detail of the deformation field that will be used to transform the input SPHARM mesh
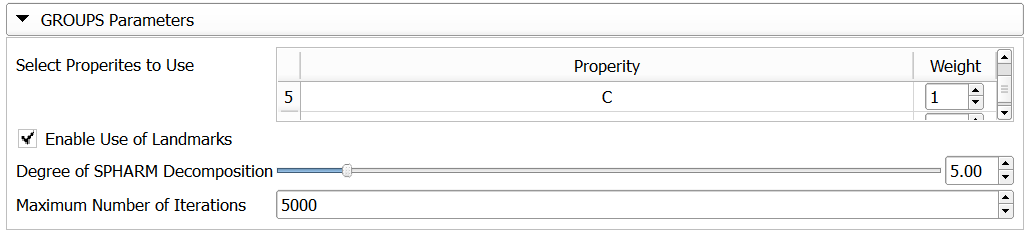
Maximum Number of Iterations: Number of iterations before the energy minimization optimization stops
A higher number of iterations usually needed with increasing the number of subjects sin the dataset, number of properties selected for the optimization procedure, or with higher deformation field SPHARM degree
**Running Group-wise Registration Module **
Click on the
Run _ _ _Groups _ button,
to run the CLIs on the provided inputs
Shape Population Viewer will be used again for quality control of the input meshs before running the tool, in particular, features planned to be included should be inspected by the user carefully
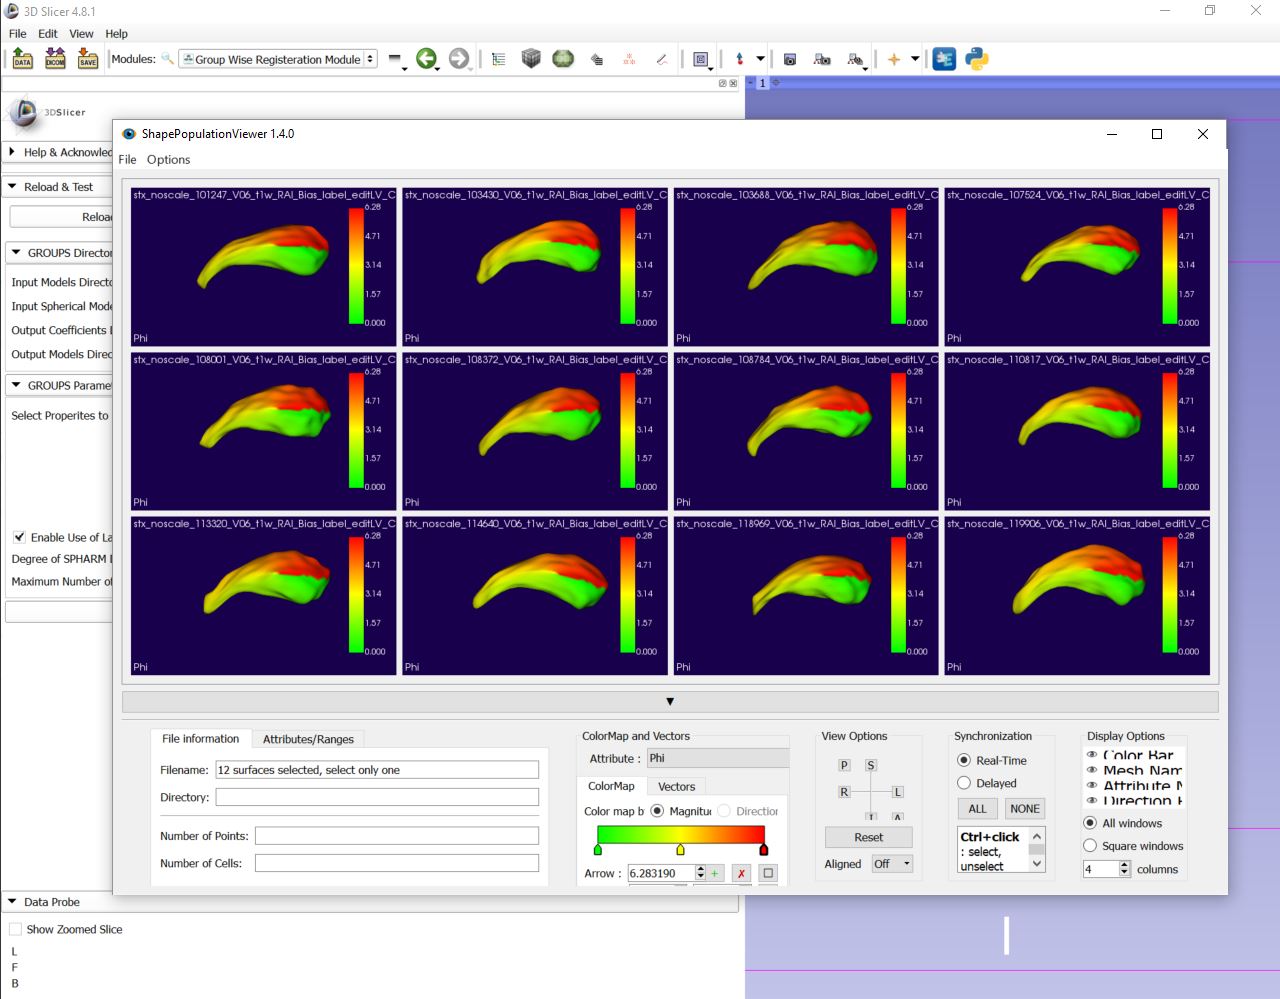
Also, Shape Population Viewer will be used to inspect the final correspondence established by the Group-wise Registration tool
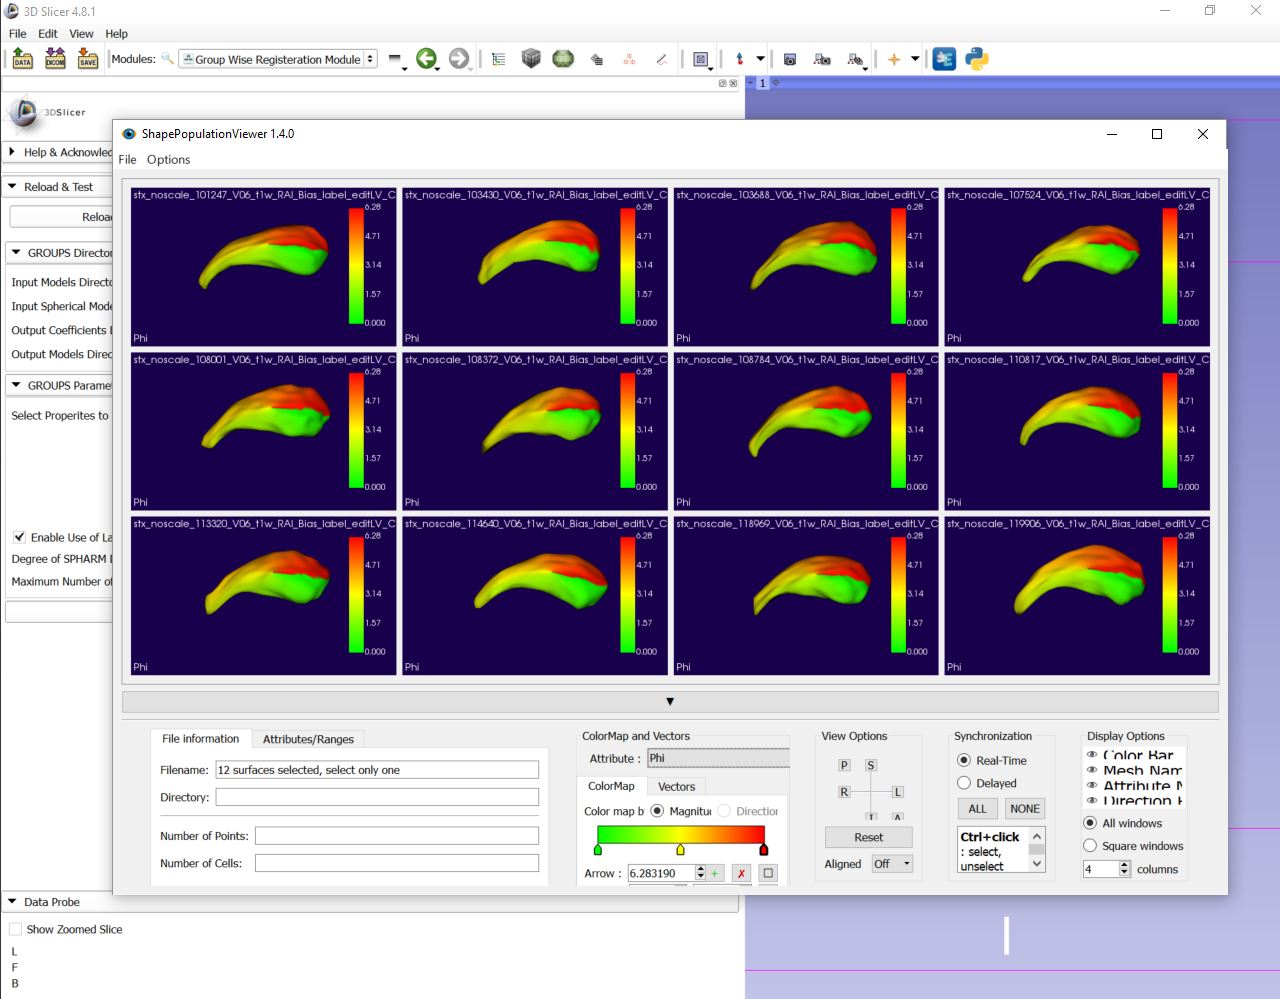
3D Slicer’s Error Log can also be used for debugging if the module was completed with errors. To open it, click on the red icon at the bottom right.
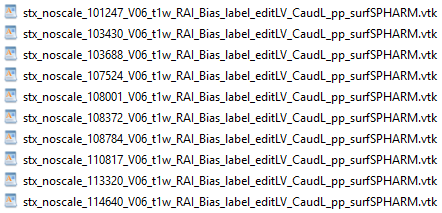
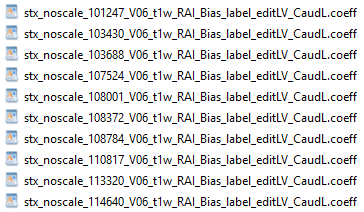
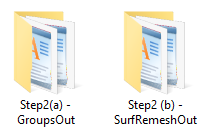
The outputs files for the two sub-steps of Group-wise Registration Module are stored in the two folders specified by the user:
Acknowledgements - Resources - Questions
- The GROUPS developers gratefully acknowledge funding for this project provided by NIH NIBIB R01EB021391 (Shape Analysis Toolbox for Medical Image Computing Projects), as well as the Slicer community.
- Github repository:
- Forums:
- Papers:
- Robust estimation of group\-wise cortical correspondence with an application to macaque and human neuroimaging studies
- Group\-wise shape correspondence of variable and complex objects
- For other remarks or questions, please email: beatriz.paniagua@kitware.com